Gel manicures are the secret to long-lasting, glossy nails that stay chip-free for weeks. Whether you love doing your nails at home or just want to understand the process better, mastering the perfect gel manicure is easier than you think. Follow this simple, step-by-step guide to achieve salon-quality nails without leaving your house!
1. Gather Your Tools
Before you start, make sure you have everything you need.
You’ll Need:
- Nail file and buffer
- Cuticle pusher
- Nail cleanser or rubbing alcohol
- Base coat (gel)
- Gel nail polish (your chosen color)
- Top coat (gel)
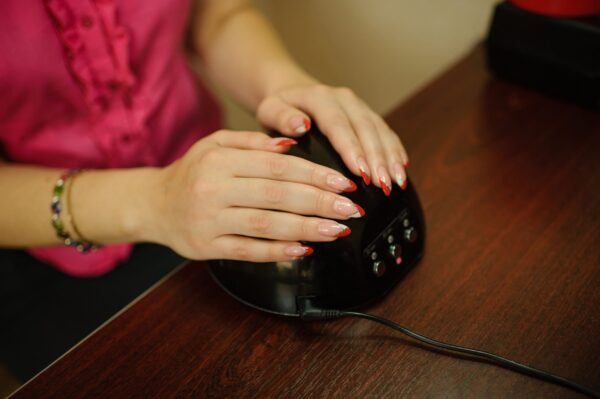
- UV or LED nail lamp
- Cotton pads
Having the right tools ensures a smoother application and longer-lasting results.
2. Prep Your Nails
Good preparation is key to a flawless gel manicure.
Steps:
- Remove any old nail polish.
- Trim and shape your nails using a nail file.
- Gently push back your cuticles with a cuticle pusher.
- Lightly buff your nails to remove shine—this helps the gel stick better.
- Wipe each nail with nail cleanser or alcohol to remove oils and dust.
Clean, dry nails help the gel adhere properly and prevent lifting later on.
3. Apply the Base Coat
The base coat is your foundation—it protects your natural nails and helps the polish bond securely.
How to Do It:
- Apply a thin, even layer of gel base coat.
- Avoid touching your cuticles or skin.
- Cure under a UV or LED lamp according to your product’s instructions (usually 30–60 seconds).
4. Apply the Gel Color
Now comes the fun part—color!
Steps:
- Apply a thin layer of your chosen gel color.
- Cure under the lamp.
- Apply a second thin layer for full coverage, then cure again.
Pro Tip: Thin layers work better than thick ones. They dry faster and prevent the polish from wrinkling or peeling.
5. Seal with the Top Coat
This step adds shine and locks everything in place.
How to Do It:
- Apply a thin, even layer of gel top coat.
- Make sure to seal the edges of your nails (the tips).
- Cure under the lamp for the recommended time.
Your nails should now look smooth, glossy, and flawless!
6. Cleanse the Surface
After curing, some gel polishes leave a sticky layer. Don’t worry—it’s normal.
Steps:
- Take a cotton pad soaked with nail cleanser or alcohol.
- Gently wipe each nail to remove the tacky residue.
Now your nails should be super shiny and completely dry!
7. Hydrate Your Cuticles
Finish your manicure with a touch of self-care.
How to Do It:
- Apply cuticle oil and massage it into your skin.
- Use hand cream to keep your hands soft and hydrated.
This step gives your manicure a professional finish and keeps your nails healthy.
Bonus Tips for Long-Lasting Gel Nails:
- Avoid soaking your hands in water for a few hours after doing your nails.
- Always wear gloves when cleaning or washing dishes.
- Don’t pick or peel off your gel polish—it can damage your natural nails.
Final Thoughts
A perfect gel manicure isn’t just about beauty—it’s about care and precision. With the right tools and a little patience, you can achieve salon-worthy results right at home. So grab your favorite shade, set up your lamp, and get ready to flaunt shiny, flawless nails that last for weeks!