A salon-quality manicure doesn’t have to come with a salon price tag. With the right tools, techniques, and a little patience, you can achieve beautiful, professional-looking nails from the comfort of your home. Whether you prefer bold colors, natural finishes, or trendy nail art, this step-by-step guide will help you master the perfect at-home manicure.
1. Gather Your Tools
Before you start, make sure you have all the essentials: a nail clipper, nail file, buffer, cuticle pusher, cuticle oil, base coat, nail polish, top coat, and a bowl of warm water. Having everything ready ensures a smooth, stress-free process.
2. Remove Old Polish
Start with clean nails by removing any old polish using an acetone-free nail polish remover. This prevents dryness and keeps your nails healthy while creating a fresh canvas for your new manicure.
3. Shape and File Your Nails
Trim your nails to your desired length, then file them into your preferred shape—whether it’s square, round, almond, or oval. Always file in one direction to avoid splitting or weakening the nail edges.
4. Soak and Soften Cuticles
Soak your hands in a bowl of warm, soapy water for 5–10 minutes to soften the cuticles. This makes it easier to gently push them back and keeps your nails looking neat and well-groomed.
5. Push Back and Treat Cuticles
Using a cuticle pusher, carefully push back the cuticles to reveal more of the nail surface. Apply a nourishing cuticle oil afterward to keep them hydrated and prevent dryness or cracking.
6. Buff the Nail Surface
Lightly buff the surface of your nails to smooth out any ridges. This step helps the base coat and polish adhere better, giving you a smoother and longer-lasting finish.
7. Apply a Base Coat
A base coat protects your nails from staining and provides a smooth surface for your polish. It also helps your manicure last longer by preventing chips and peeling.
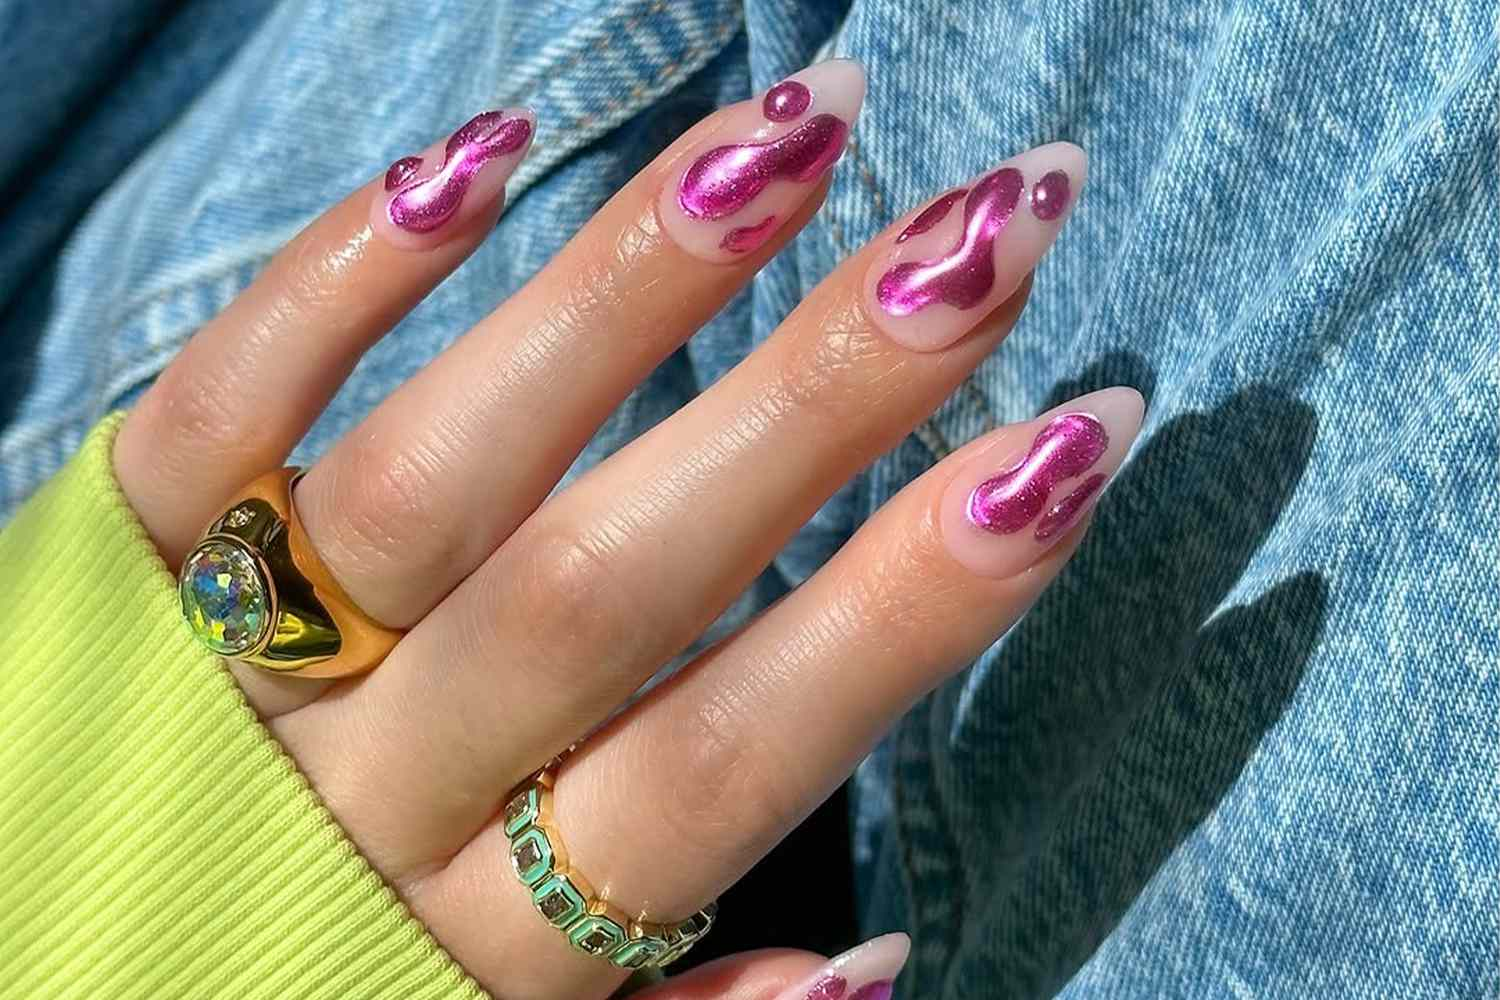
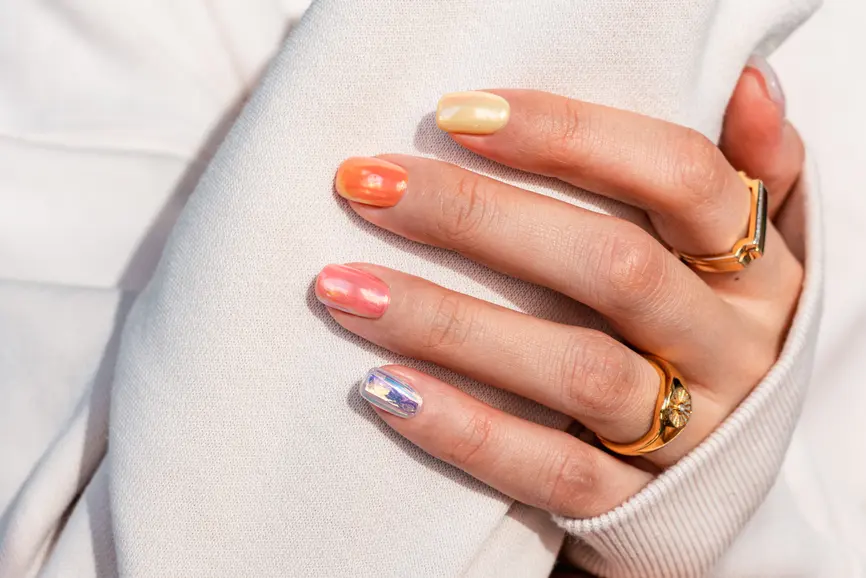
8. Add Your Nail Color
Apply your chosen nail polish in thin, even layers. Start with one stroke down the center, then fill in the sides. Two coats are usually enough for a vibrant, streak-free color. Allow each coat to dry before applying the next.
9. Finish with a Top Coat
Seal your manicure with a glossy top coat to add shine and protect against chipping. A good top coat can make your nails look professionally done and keep them looking fresh for days.
10. Clean Up the Edges
For a flawless finish, dip a small brush or cotton swab in nail polish remover and carefully clean any polish that may have gotten on your skin or cuticles.
11. Moisturize Your Hands
Complete your at-home manicure by applying a rich hand cream to lock in moisture and keep your skin soft. This final touch adds a spa-like feel to your DIY experience.
Extra Tips for a Long-Lasting Manicure
- Avoid using your nails as tools to open or scratch items.
- Reapply top coat every few days to maintain shine and prevent chips.
- Wear gloves while cleaning or washing dishes to protect your nails.
Final Thoughts
Perfecting an at-home manicure is all about preparation, technique, and care. By following these steps and using quality products, you can achieve salon-worthy nails that look polished and last longer. With a little practice, you’ll turn your at-home manicure into a relaxing and rewarding beauty ritual.